


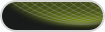


This piece of art was composed in Adobe Photoshop from over a dozen photos of objects. The bell jar and goggles were drawn from scratch and the brass orrery was a black and white victorian woodcut that I scanned. The books were photos of covers that I transformed to simulate 3D. The most difficult object here was the glass spiral thermometer.
In this demo I have taken the original photo above and converted it into the piece of vector art to the right. Using both live trace and the pen tool I separated the continuous tone into discreet selections of color. Gradients have been applied to some of the sections for additional shading.
Here I took one photograph and applied three different treatments to it.
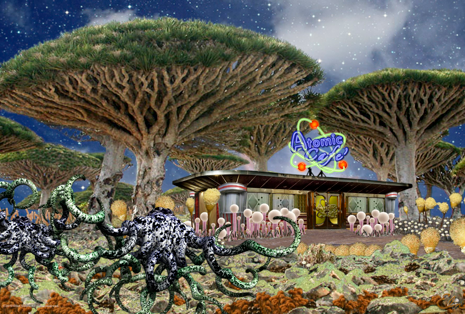
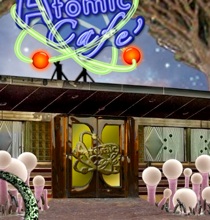
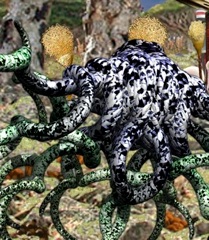
The Atomic Café was done mainly in Adobe Photoshop. The trees are from a photo of Socotra Island. The original sky has been replaced with a starry night one. The diner is a blend of five photos of classic 50’s diners. The foliage is composed of a dozen different micrographs of fungus. The creatures on the left were created in GroBoto 3D. The neon sign was created in Photoshop.
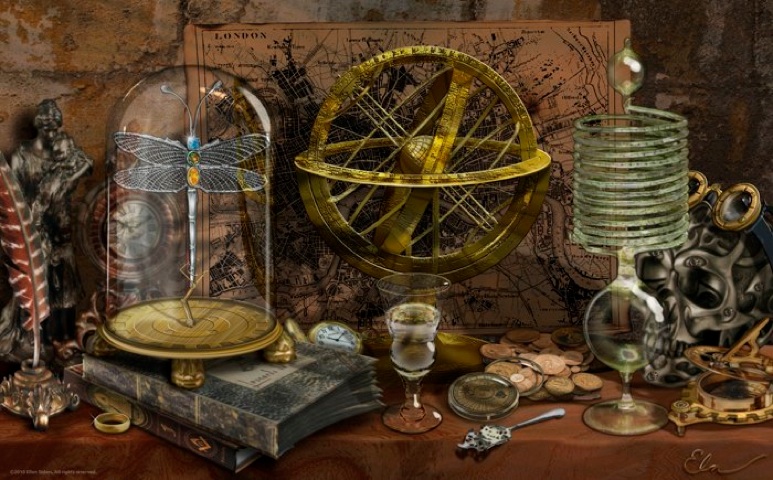
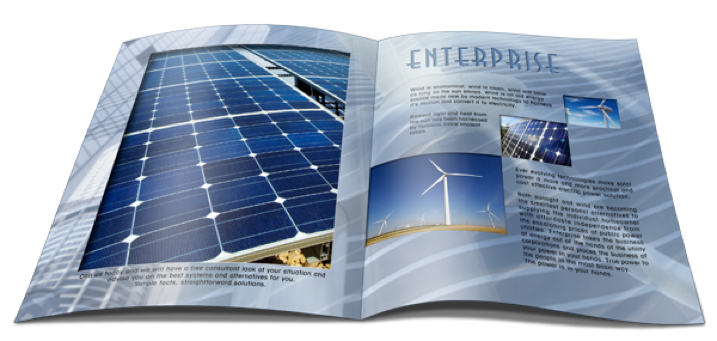
For this perspective view of the brochure I used a copy of my original Photoshop file of the spread pages. I then used the transform and warp tools to tilt and curve the pages. Underneath I added a double layered shadow, bending it to make it appear that the pages were lifting off the surface. Finally on the pages themselves I added a subtle shading and glint to augment the feeling of curvature.
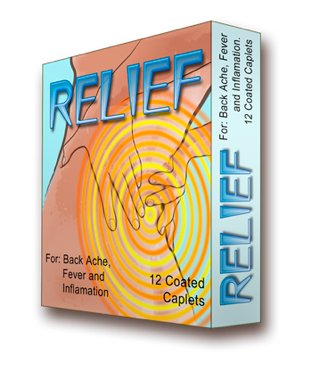
Again using a copy of the original ad I modified the type and then transformed it into the correct perspective. I then created another section for the side panel and transformed it to fit the perspective in the other direction.
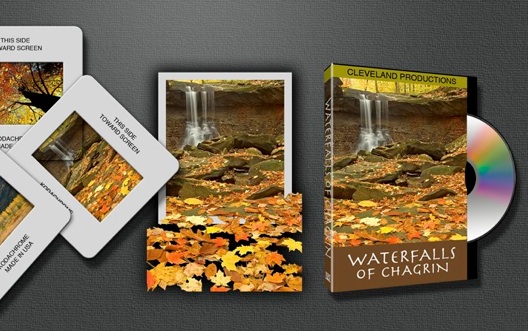
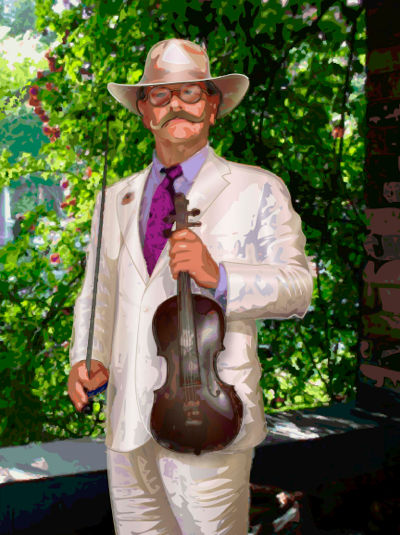
This was created for a House of Diggs Production project called “The Crypto Historians”. I used 30 different photos to place Jimmy standing in the middle between Tesla on the left and H.G. Wells on the right. Jimmy himself is a blend of 5 different photos. To assist in the blending I converted all photos to grey scale first and adjusted the levels to give them all similar contrast. After the blending was complete I added a color overlay to simulate a sepia tone. The Frame was originally the wrong proportion so I had to chop it apart and reconstruct it to fit the picture. I added the plaque later in Photoshop.

The original photo on the left was taken at Lake Tahoe. The huge rocks looked like gigantic walruses so I created the Giant Walruses of Lake Tahoe.
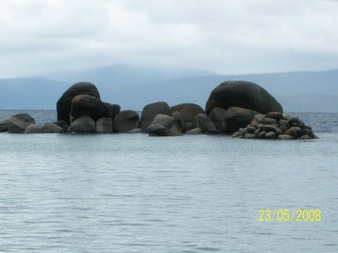
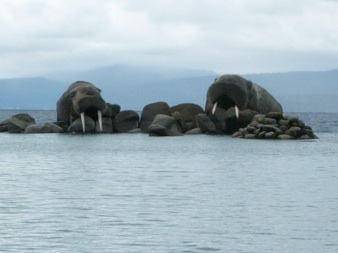
PHOTO MANIPULATION